Monday, February 13, 2023

Happy days are here - 49 and Market


Hello 49 and Market Fans, today I have a layout of my gorgeous little grand children all ready to head out for a day of fun being that it is Mason's fourth birthday.

I have used the beautiful Vintage Artistry Tranquility range.


I started with the "sweet nothings" patterned paper and cut it down to 11.5 x 11.5 and backed it with Foundations #1 paper as a frame after cutting out the middle to use as mats for my photos. Then chose lots of the different ephemera bits like the view finder, tags and the pretty frame which I have cut in half and used it to join the photos.


I have then used a piece of the 6x8 paper and cut the floral pattern out and added it to the top of the layout using foam tape underneath.


The washi tape stickers I have adhered to a piece of acetate then cut them out to give some depth and dimension, like the butterfly wings and mini clips.


To finish off my page I have added a title from the 12x12 Sentiments rub on transfer pack and the bracket with "my favourite people" is from the 6x8 rub on pack.


Remember you can share your own projects on the 49 and Markets Fan page on Facebook.


Thursday, February 2, 2023

ARToptions Rouge Ultimate Page Kit - Level up pages

 Hello everyone 

I am showing you today how I created the four layouts of the "ARToptions Rouge Ultimate Page Kit" then did what we call "Level up" the layouts with left over laser cuts and chipboard pieces as the kit is jammed packed and even created a fifth layout adding rubons and washi tape stickers added.

These are the images of the amazing kit layouts which are just perfect but if you have some rubons etc why not add them.


These are all of the chipboard and laser cut pieces  still left over after completing the four layouts.


Layout 1 
I have added washi tape stickers along with the left over foliage laser cuts. The little washi clips I have first stuck onto an acetate piece then cut them out to be more like a laser cut piece.


Layout 2 
I have added a Sentiments rub on transfer to the top of the page as a large title. Also added are some more rub ons from the 12x12 pack like the flower that I have cut in half and added one piece above the layering and one piece at the bottom.


Layout 3 

I have machine sewn around the edges of this layout to mimic the already printed sewing then added some of the chipboard pieces and a Salsa filmstrip piece.


Layout 4

I have used one of the large floral pieces from the 12x12 rub on transfers pack and cut it in half, adding one large piece to the top and the other to the bottom of the page. Then added some of the greenery foliage rub ons under the chipboard piece plus some of the photo corners and other laser cut bits.


To create this extra layout I have started with the "Tender Moments" 12x12 paper then fussy cut one of the panels from the reverse of the Page Kit front cover. Layering different pieces and tickets along with using the little green chipboard frame as a hanging picture with two photograph spots behind the whitewashed and polaroid frames.
I have used the flowers and added foam tape behind them to add dimension in the top left corner then added another Sentiments rub on as a title with washi tape stickers and floral rub ons.


ARToptions Rouge Ultimate Page Kit


ARToptions Rouge 12x12 Rub on Transfers


ARToptions Rouge Washi Stickers


Vintage Bits Essential Filmstrips Salsa


Hope you get time to create and share with us on the 49 and Market Fans page on Facebook 


J xx


Tuesday, January 24, 2023

Adore You - 49 and Market ARToptions Rouge


Hello everyone and welcome to the blog today. I am sharing this layout of my gorgeous grand daughter being the little cherub that she is. When I saw the NEW ARToptions Rouge collection I knew it was perfect for these photographs.


I have started with .......... 12x12 paper and instead of cutting off the barcode strip I have left it on the bottom and trimmed the top off to make it 12 inches. Machine stitching around the edge gives it a frame feel. 


I have then used a piece of the 6x8 paper pack to frame the photo and stitched around the edges of the pic as well as using another sheet of patterened paper to add under the photograph, distressing the edges. Using the 12x12 Sentiments rub on pack I have added the title of the page "Adore You" then layered some more of the rub on's .


There is a whole sheet of fussy cut elements on the reverse of the cover sheet so I have cut some of the leaves and flowers out. I have also added some of the washi tape stickers and rub ons to white cardstock and fussy cut them out as well to give more dimension and elements to the page.


The advertising strip on the bottom of the 12x12 patterned paper pack that shows all of the designs has also been used, which I have machine sewn to make it look like patchwork quilting.


Laser cuts from Holiday Wishes, Plum Grove and Curators Meadow ranges have been used like the iron gate, love heart and red lace. To add some more elements to my page I have added some Rouge Fabric tape plus washi tape stickets and Color Swatch Blossom tickets. Finishing off my page I have also used Natures Bounty new flowers in "Taffy"

49 and Market products used


Natures Bounty Taffy flowers


Hope you have enjoyed my layout today on the blog 
J xxx


Thursday, January 19, 2023

Dream Bigger Every Year - Dusty Attic NEW PRODUCTS


Hello everyone 

I love how this layout came together so quickly. Just reminders to myself really for the New Year using the NEW RELEASE chipboard products.


I first made a template of a love heart out of an A4 piece of paper then cut strips of the 49 and Market Alena papers randomly and laid them into the shape. 


Next came another fun part where I had all these borders and edges to lay across the heart shape, I kept all of the chipboard white so it would stand out from the background.


I then used the NEW products to add little quotes and reminders to myself in and around the borders!


To finish I foam mounted my photo ontop of all the design and added the title from the Word Pack #55.

NEW Products used


Month Tabs 


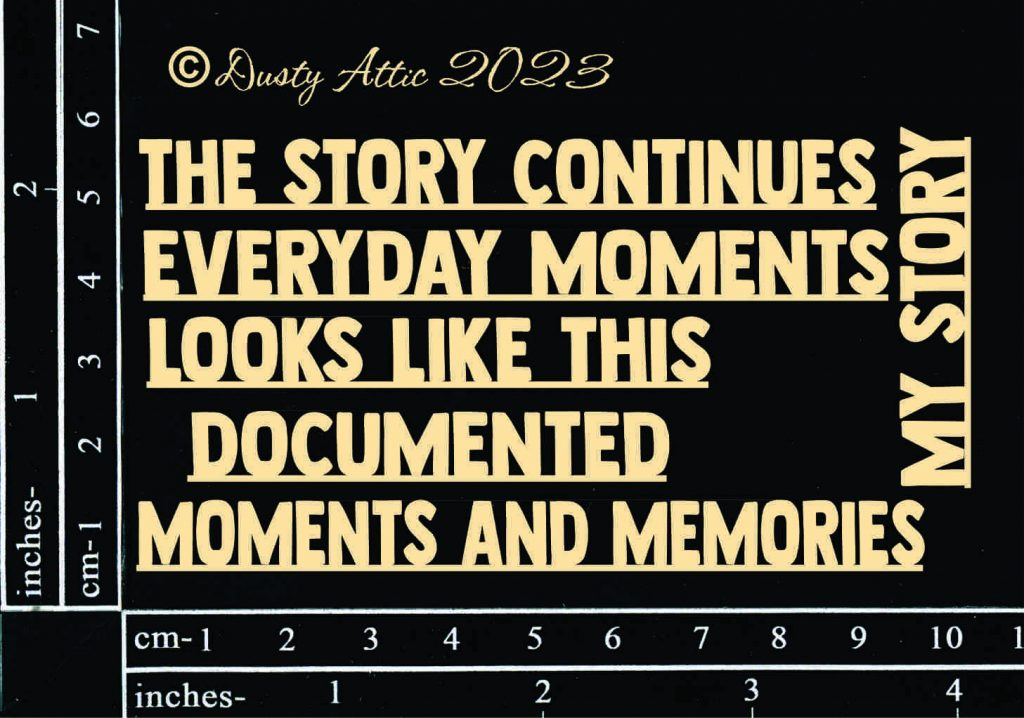
The Story Continues


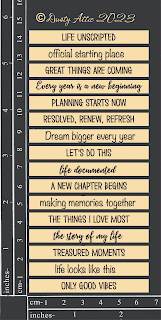
Word Strips #3