Wednesday, November 29, 2023

Christmas Sleigh - Dusty Attic NEW MDF Sleigh


Hello everyone and welcome to the blog today where I have constructed the NEW MDF Sleigh (Small) that holds a wonderful Christmas pudding smelling candle for a display.

I also have a quick video tutorial to share

HERE on Youtube


First you need to cut the pieces out of the MDF sheet carefully. 
I have then labelled the "inside" of my pieces as I only wanted to cover with paper on the outside. 


I have then used liquid glue to adhere the outside pieces to the paper.


I then spray painted all of the inside pieces with Silver spray paint. When it was all dry I used my craft knife to cut around the paper for the shape and sanded all of the edges then used Gathered Twigs Distress ink around all of the edges.


The Baubles and Branch & Berries I have spray painted with white on BOTH side of the chipboard.

I have then used florist foam to put in the bottom of the sleigh and calved out a circle for the candle to sit into. I then added my Poinsettias and Christmas Baubles. The Berries I have painted with Gold on both sides and then added them to the arrangement. 


Dusty Attic Products Used


MDF Sleigh Small DA3659


Branch & Berries #2 DA3305


Baubles #4 DA1420


Plus some fake Poinsettias and a Christmas smelling candle all ready for display.


Friday, November 24, 2023

Merry Christmas - 49 and Market Christmas Spectacular


Soon it will be time for Christmas preparations to begin so in that spirit I am sharing a photo of Mason's first Santa photo with Kyden in 2018 using the Vintage Artistry Christmas Spectacular range.


I have started with the golden colour from the 12x12 Coloured Foundations paper pack and cut a rectangle out of the middle to use as a photo mat. Then I have used the "Christmas Exemplified" 12x12 paper cut down to 11x11 adhered to the background to make a frame around the paper.


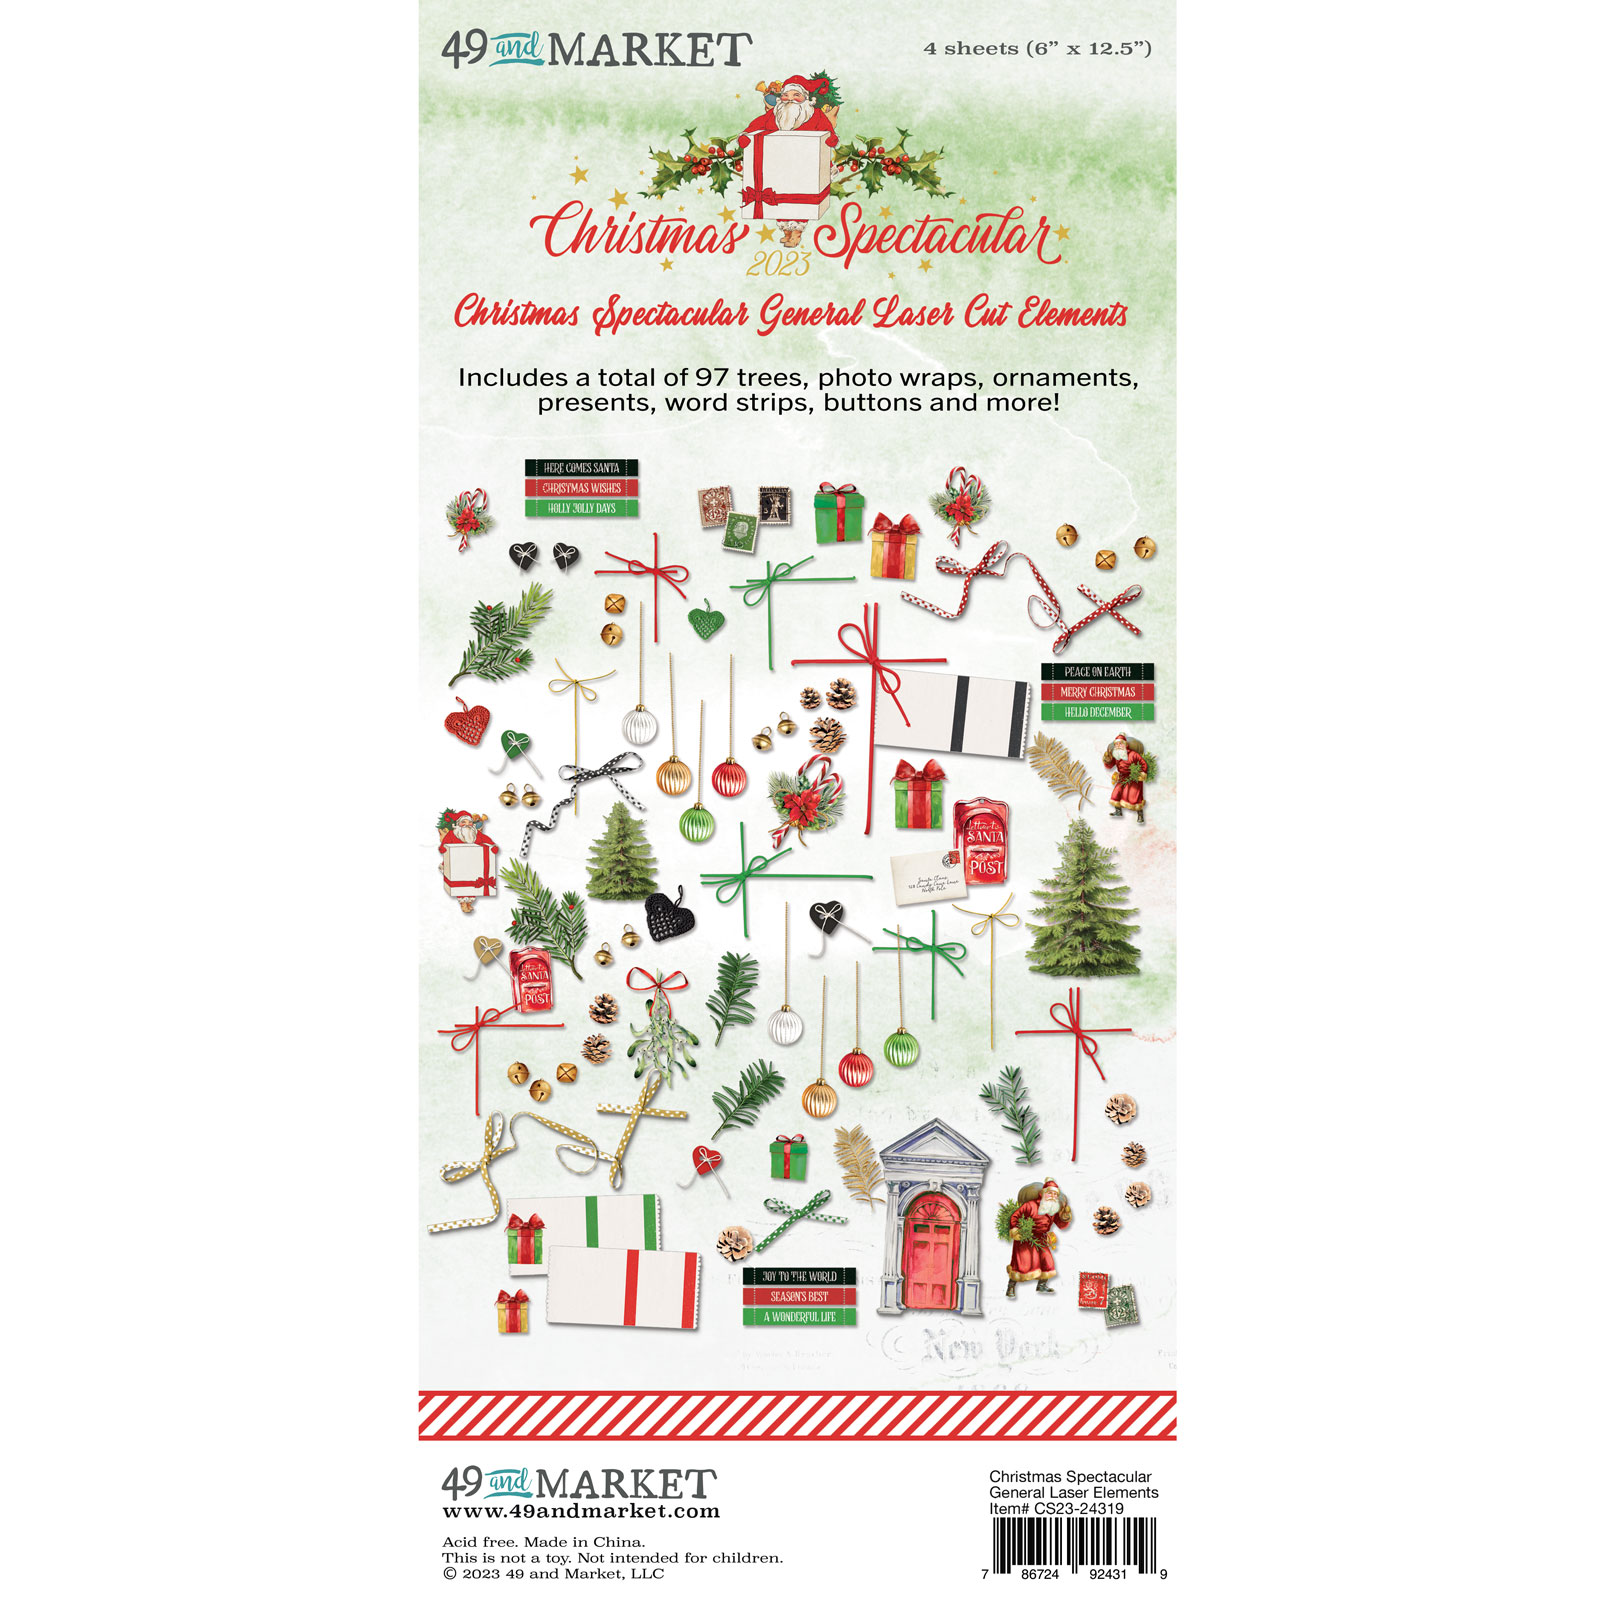
The next thing I did was choose some accetate Filmstrip Frames and Lace laser cut pieces to layer behind the photograph. The General laser cuts have lots of beautiful pieces including this cute door which I have layered Santa, bows, bells, hearts and trees.


Chipboard pieces like the tags and stars have been added then the Chipboard Ho,Ho,Ho word. 


Finishing off my page is one of the large 12x12 Sentiments rub ons "Merry Christmas" at the top and "Dear Santa" at the bottom of my layout, party lights and bells have then been added from the 6x8 Rub on pack.

Thank you for joining me today and I would love to see your own creations on the 49 and Market Fans Facebook page. 

J xx 


Christmas Spectacular 12x12 Classics Pack 

Christmas Spectacular 12x12 Coloured Foundations 

Christmas Spectacular Filmstrip Frames 

General Laser Cuts

Lace Laser Cuts

Ephemera Bits 

Chipboard Words 


12x12 Sentiments Rub ons 


6x8 Rub On Transfers 


Thursday, November 2, 2023

This fills my Heart - 49 and Market Vintage Artistry Sunburst


Hello Crafters 

Today I have a new layout of my beautiful little Grand Daughter who was so happy with her new "Frozen Anna and Elsa" hair clips. I have used the bright happy Vintage Artistry Sunburst collection.


I chose the 12x12 Butterfly Corsage paper as the background with the gorgeous pattern at the top. I have then used the reverse of the 12x12 Lost Island paper to tear and then layer on top of each other making little slit pockets.


I have layered some of the Filmstrip Frames in the background, then used an array of different General and Tropical Foliage laser cuts to create a pretty pink cluster on the right hand side of the photograph. 


I loved the pink cord in the Sunburst Cluster kit so decided to use all of the elements for the bottom Cluster on my layout, the white papers layered behind with the Paradise tag which I have cut in half and used both ends along with the Frangapani's and "The best of Times" circle. I have then also added the black doily again cutting it in half to use part at the top and the bottom of the photograph. I have also added Lacey Trim white, fraying the edges into the layers of the paper and along the bottom of the photo mat.


Finishing off my page I added frayed Lacey trim to the Flower cluster at the top and sides along with the cute buttons that come in the Cluster Kit.

Hope you enjoy the Video Tutorial I have created making this layout. 


We would love to see any creations you make in the 49 and Market Fans Facebook group. 


49 and Market Products


Vintage Artistry Sunburst 

Butterfly Corsage


Vintage Artistry Sunburst 

Lost Island


Vintage Artistry Sunburst

6x8 Collection Pack


Vintage Artistry Sunburst 

Cluster Kit 


Vintage Artistry Sunburst 

General Laser Cuts 


Vintage Artistry Sunburst

Tropical Foliage Laser Cuts 


Vintage Artistry Sunburst 6x8 Rub ons


Vintage Artistry Sunburst 

Filmstrip Frames